BETA
Plugins
2D
3D
Tools
Scripts
Materials
Shaders
Projects
Templates
Demos
Misc
Sort
Godot Version
4.2
Pong with C#
6
v4.2-31d1c0c
Demos
By: Godot Engine
4.2
Isometric Game Demo
6
v4.2-31d1c0c
Demos
By: Godot Engine
4.2
GUI Theming Override Demo
6
v4.2-31d1c0c
Demos
By: Godot Engine
4.2
GUI Translation Demo
6
v4.2-31d1c0c
Demos
By: Godot Engine
4.2
3D Graphics Settings Demo
6
v4.2-31d1c0c
Demos
By: Godot Engine
4.2
Global Illumination Demo
6
v4.2-31d1c0c
Demos
By: Godot Engine
4.2
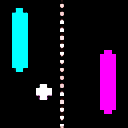
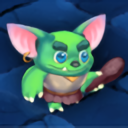
Dodge the Creeps Demo
6
v4.2-31d1c0c
Demos
By: Godot Engine
4.2
Autoload Demo
6
v4.2-31d1c0c
Demos
By: Godot Engine
4.2
Multiple Resolutions and Aspect Ratios Demo
6
v4.2-31d1c0c
Demos
By: Godot Engine
4.2
Multi-channel Signed Distance Field Font Demo
6
v4.2-31d1c0c
Demos
By: Godot Engine
4.2
Instancing Demo
6
v4.2-31d1c0c
Demos
By: Godot Engine
4.2
GD Paint Demo
6
v4.2-31d1c0c
Demos
By: Godot Engine
4.2
3D Navigation Demo
6
v4.2-31d1c0c
Demos
By: Godot Engine
4.2
Control Gallery Demo
6
v4.2-31d1c0c
Demos
By: Godot Engine
4.2
3D Labels and Texts Demo
6
v4.2-31d1c0c
Demos
By: Godot Engine
4.2
Compute Texture Demo
6
v4.2-31d1c0c
Demos
By: Godot Engine
4.2
Voxel Game Demo
6
v4.2-31d1c0c
Demos
By: Godot Engine
4.2
Volumetric Fog Demo
6
v4.2-31d1c0c
Demos
By: Godot Engine
4.2
Variable Rate Shading (VRS) Demo
6
v4.2-31d1c0c
Demos
By: Godot Engine
4.2
Truck Town Demo
6
v4.2-31d1c0c
Demos
By: Godot Engine
4.2
XR Character Body Centric Movement Demo
6
v4.2-31d1c0c
Demos
By: Godot Engine
4.2
RigidBody Character 3D Demo
6
v4.2-31d1c0c
Demos
By: Godot Engine
4.2
3D Particles Demo
6
v4.2-31d1c0c
Demos
By: Godot Engine
4.2
Occlusion Culling and Mesh LOD Demo
6
v4.2-31d1c0c
Demos
By: Godot Engine
Previous
1
...
6
7
8
9
10
...
17
Next
 4.2
4.2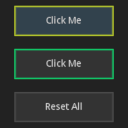 4.2
4.2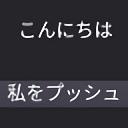 4.2
4.2 4.2
4.2 4.2
4.2 4.2
4.2 4.2
4.2 4.2
4.2 4.2
4.2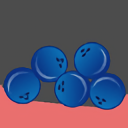 4.2
4.2 4.2
4.2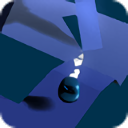 4.2
4.2 4.2
4.2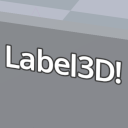 4.2
4.2 4.2
4.2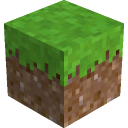 4.2
4.2 4.2
4.2 4.2
4.2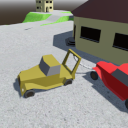 4.2
4.2 4.2
4.2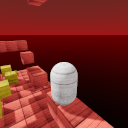 4.2
4.2 4.2
4.2 4.2
4.2