BETA
Plugins
2D
3D
Tools
Scripts
Materials
Shaders
Projects
Templates
Demos
Misc
Sort
Godot Version
3.0
GodotLightning
18
v1.0
2D Tools
By: jarlowrey
4.0
Godot FontAwesome 5
18
v5.15.4
2D Tools
By: LetterN
4.1
Segmented Bar
18
v0.1.0
2D Tools
By: Astridson
4.3
Flash animation
18
v2.0
2D Tools
By: aojiaoxiaolinlin
4.2
2D Liquid Simulator
18
v1.0.1
2D Tools
By: L-Marcel
4.3
2D Liquid Simulator - 4.3+
18
v1.0.1
2D Tools
By: L-Marcel
4.3
Spinner
18
v0.1.0
2D Tools
By: tattomoosa
4.2
GD AtlasTexture Creator
18
v1.0.2
2D Tools
By: DE-YU
4.0
Godot4-TiledImporter
17
v0.1
2D Tools
By: feendrache
3.5
Bottled TileMap : Ultimate Godot TileMap plugin (3.5)
17
v3.5
2D Tools
By: Dark Peace
4.0
Icon Animations
17
v1.0.0
2D Tools
By: univeous
4.1
FACS (Fancy Animated Controls)
17
v1.0.8
2D Tools
By: RogerRandom_
4.4
FACS(Fancy Animated Controls) GD4.4
17
v1.1.5
2D Tools
By: RogerRandom_
4.1
Godot VLC
17
v0.1.0
2D Tools
By: xiSage
4.1
Moraguma's Jam Essentials
17
v1.0
2D Tools
By: moraguma
4.2
godot-dataview UI Control
16
v0.1.3
2D Tools
By: karlak
4.2
SuperSprite2D
16
v1.0
2D Tools
By: Miisan
3.5
Godot Moho Importer
16
v1.0.0
2D Tools
By: duriganjp
3.1
GoGodot
16
v1.1.7
2D Tools
By: oranjoose
3.3
Scaling CanvasLayer
16
v1.0.0
2D Tools
By: nyanginator
3.5
LPC Character Spritesheet Plugin
15
v1.0.3
2D Tools
By: DrJamgo
3.2
Grid Movements
15
v3.1
2D Tools
By: mechPenSketch
3.2
Water2D Node
15
v0.0.4
2D Tools
By: Cevantime
3.5
SelectionShortcuts
14
v1.1.1
2D Tools
By: Daelon
Previous
1
...
5
6
7
8
9
...
20
Next
 4.0
4.0 4.1
4.1 4.3
4.3 4.24.3
 4.3
4.3 4.2
4.2 4.0
4.0 3.5
3.5 4.0
4.0 4.1
4.1 4.4
4.4 4.1
4.1 4.1
4.1 4.2
4.2 4.2
4.2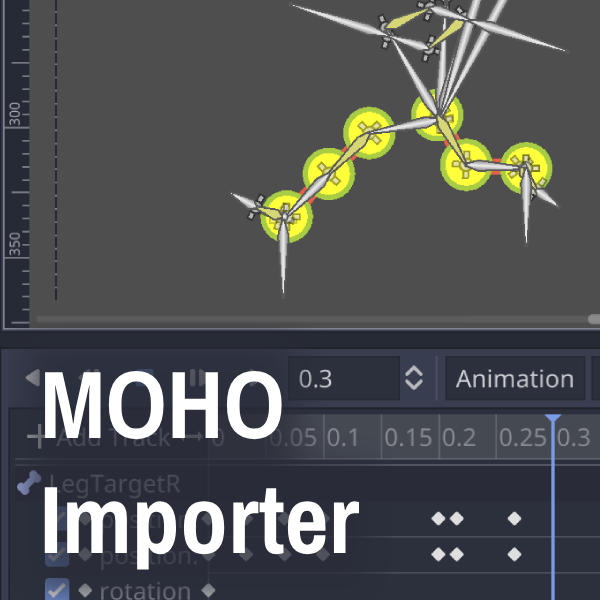 3.5
3.5 3.1
3.1 3.3
3.3 3.5
3.5 3.2
3.2 3.2
3.2 3.5
3.5