PathMesh3D
by iiMidknightii
PathMesh3D
![]()
A set of simple Godot 3D nodes for extruding and instancing 3D meshes along a Path3D. Implemented as a GDExtension in C++ for speed.
Installation
From Godot Asset Library in the Editor
Click the AssetLib button at the top of the Godot editor and search for PathMesh3D. When prompted where to install it, you can select only the folder named "addons". If you wish to modify or recompile the addon, then you'll need to include the "godot-cpp" and "src" folders along with the "SConstruct" file from this repository.
From Godot Asset Library Web
Head over to the PathMesh3D page on the asset library website and click the download button. Unzip the download into a location of your choosing. To put the addon in your project, just copy the "addons" folder into the project directory.
From GitHub.com
You can download the full repository for PathMesh3D here. You can clone this repository by doing git clone https://github.com/iiMidknightii/PathMesh3D.git in the directory of your choosing. If you want to compile your own binaries this is the best option. To put the addon in your project, just copy the "addons" folder into the project directory.
Compiling
If you make modifications to the source, or just need it compiled for a different platform (sorry Mac users!), compiling is pretty easy. First, you need to git clone https://github.com/godotengine/godot-cpp.git to a godot-cpp folder inside your project. Then you need to create an SConstruct file at the root of your project with the line SConscript('addons/PathMesh3D/SConstruct'). Calling scons will then build the addon in the addons/PathMesh3D/bin folder for you!
Tutorial
Note
PathMesh3D and PathExtrude3D both have a plugin button to generate baked meshes and collision shapes. In the editor, you can enable this button by enabling the PathMesh3D plugin.
PathMesh3D
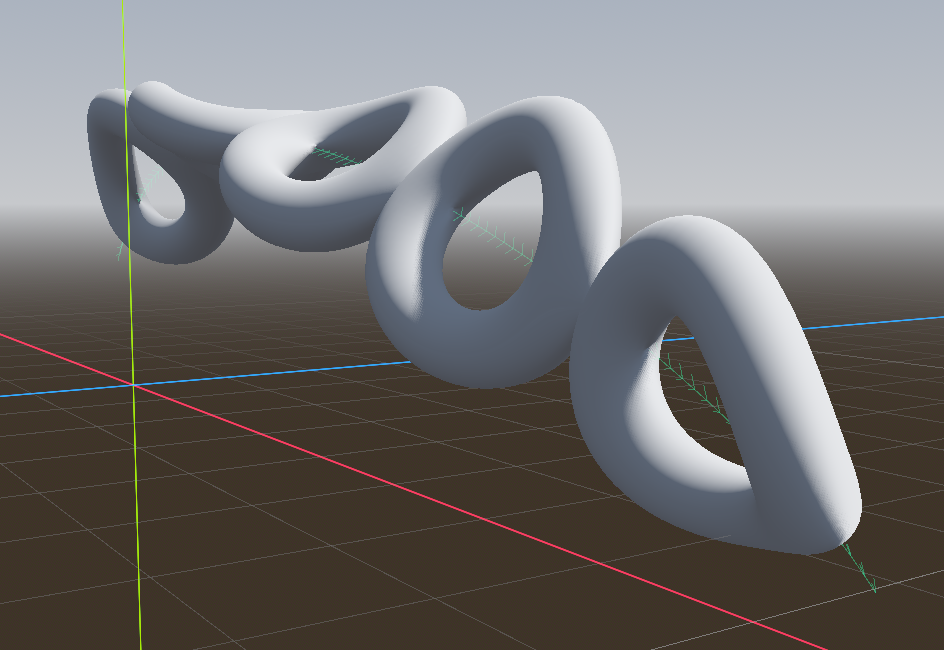
PathMesh3D is a great node if you want to take a 3D model and "tile" or "repeat" it along a Path3D node within your scene. The Mesh model provided will be duplicated along its Z axis according to the settings chosen for each surface. Since each surface has its own independent settings, there is a high degree of customization available.
Simply add the PathMesh3D node to the scene, set its path_3d property to a Path3D node, and set its mesh property to any Mesh derived resource. From there, you can tweak the settings for each surface to get your desired effect. If you want to create a permanent, separate node as a "snapshot" of the extruded mesh, hit the PathMesh3D button on the editor toolbar and select "Bake Mesh". You can also create collision shapes and static bodies similarly to MeshInstance3D with that same button.
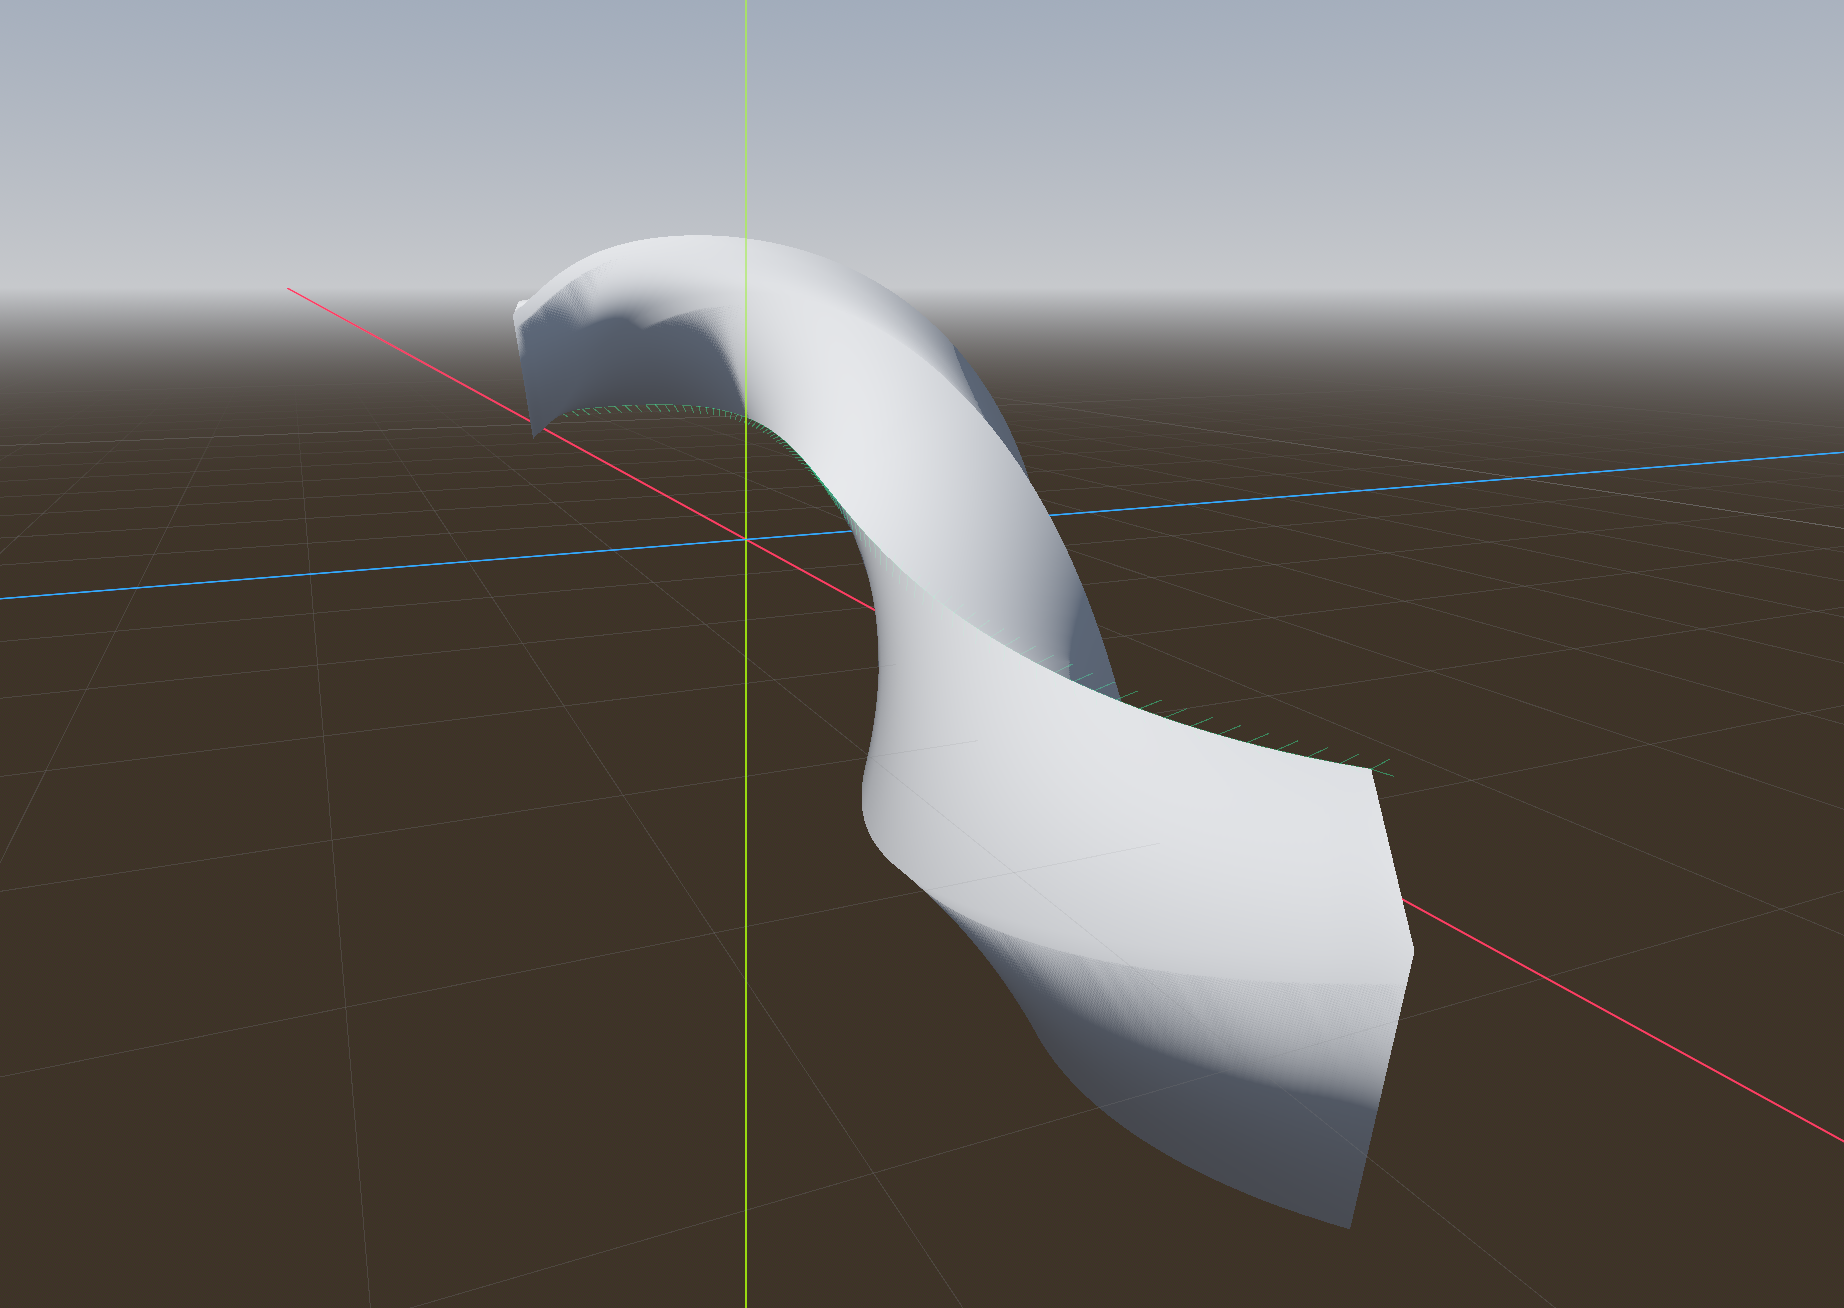
PathExtrude3D
PathExtrude3D works similarly to the CSGPolygon node when in path mode. First, you define the cross section using the profile property. This property uses any one of the PathExtrudeProfileBase classes, including rectangular, circular, etc. You can also create your own profile by creating a custom script inheriting from PathExtrudeProfileBase and overriding the virtual _generate_cross_section method. This resource stores the cross section vertices in arrays similar to ArrayMesh that will be used by the PathExtrude3D. Next, set the path_3d property to any Path3D node in the scene. From there, the cross section will be extruded according to the settings you have chosen.
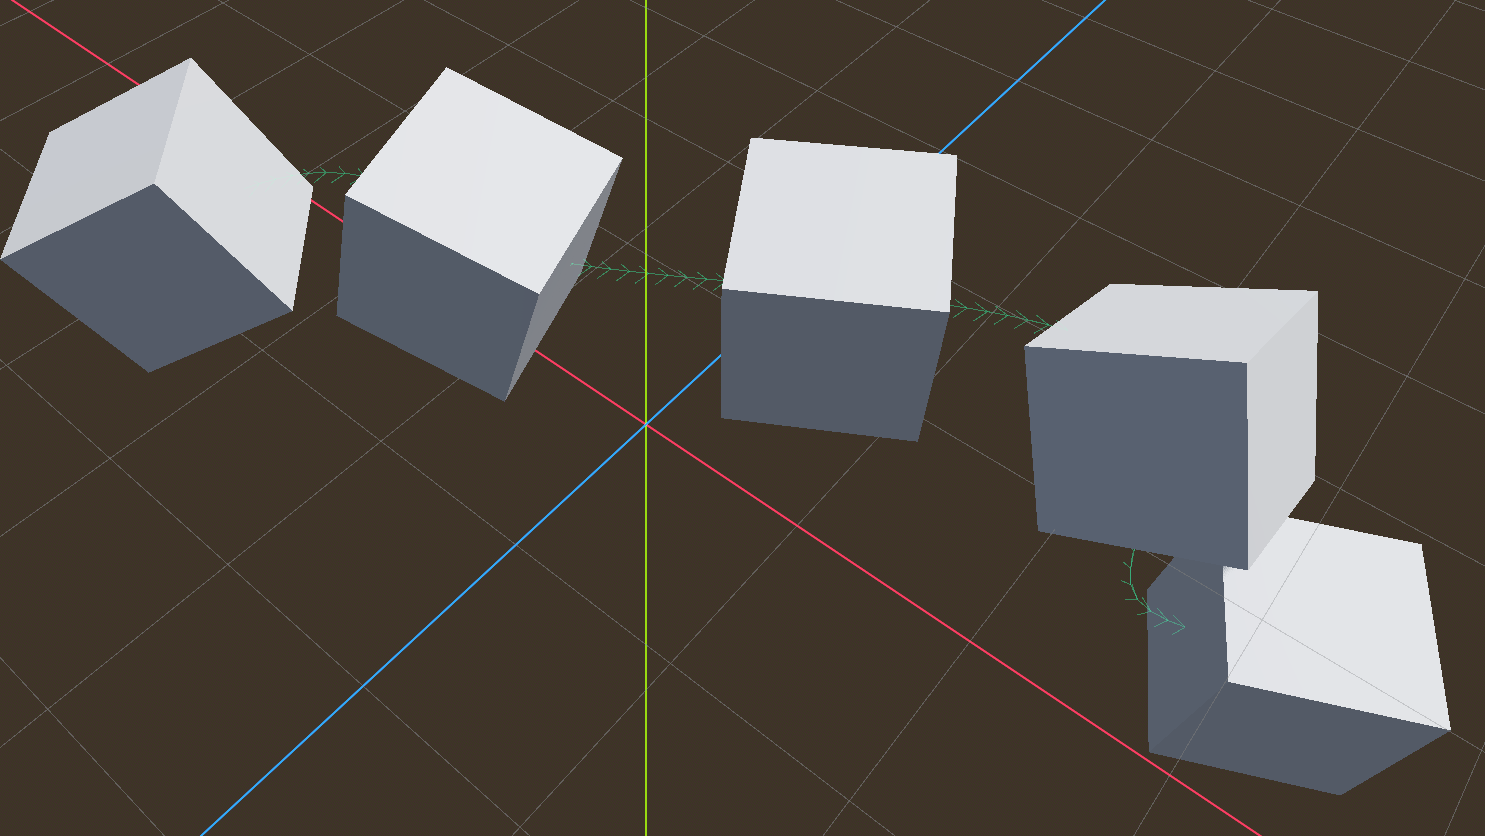
PathMultiMesh3D
PathMultiMesh3D works similarly to PathMesh3D, but instead of creating one combined mesh, it generates the instances of a MultiMesh resource along the path. Just set the mesh property to a MultiMesh (and select a base mesh for it). Then, set the path_3d property to a Path3D node in the scene. The node will automatically set the MultiMesh instance_count property and distribute their transforms along the path according to the selected settings.
PathScene3D
PathScene3D creates instances of a PackedScene resource along the the path. It will automatically add the instances as internal children of itself and distribute their transforms according to selected settings. If it is desired, the instances can be "baked" by calling bake_instances, which unparents them from the PathScene3D node and returns them in an array. From there, they can be reparented as more permanent nodes.
PathStaticBody3D
PathStaticBody3D duplicates a Shape3D resource along the Path3D node, creating a static physics object. This is great for creating performant, simple collision geometry along the same path as a PathMesh3D, such as fences or roads.
PathArea3D
Similar to PathStaticBody3D, except it creates a physics area along the path. This is great for creating areas along paths for mouse-over detection or to change the audio when a physics body enters a tunnel.
PathModifier3D
PathModifier3D is a general purpose node that can be added as a child of any of the above nodes. It allows you to alter the offset, rotation, scale, and uv offset/scale along the path. It has properties to define the start and stop of the modification, which default to start at 0.0 and 1.0 (normalized). It also has an influence curve which, if set, alters how much of the modification is applied to the curve. This allows you to smoothly scale extrusions, stretch textures, rotated instances, or anything else you can think of. You can even add more than one PathModifier3D to the path tool, as they stack in the order they are added to the tree.

Latest Release - v1.4.
- Added the ability for
PathMesh3DandPathExtrude3Dto create a child static body internally, in case on-the-fly physics are desired - All path tools now generate their geometry before
_ready - Added
PathModifier3Dto make sophisticated model and UV transformations easy - Added
PathStaticBody3DandPathArea3Dto generate simple physics geometry using built-in shapes - Restructured the source code so it included in the addon, allowing users to build it in their own project with a simple SConstruct file
Contributing
Feel free to leave any feedback, suggestions, bug reports, and contributions to the repository at https://github.com/iiMidknightii/PathMesh3D.
Download
Support
If you need help or have questions about this plugin, please contact the author.
Contact Author